As promised, here comes last Friday's party outfit which was quite obviously inspired by Ann Demeulemeester's collections. I love how she plays with black and white every season, and still makes it look so fresh each time. This is something I have actually noted before but it's also a fact that agrees with the contents of my wardrobe, year after year.
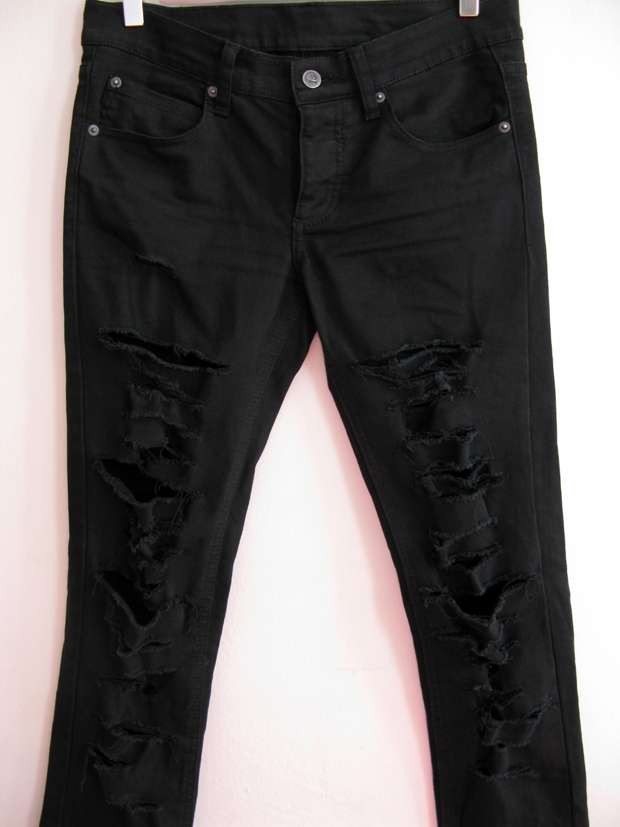
The reason why I wanted to save this outfit for a separate post was because as you can see, I did a little extra slashing on my ripped jeans and wanted to share a tutorial on how to DIY. Ripping jeans is fairly easy but in order to get a nice frayed finish like on mine, it takes a little extra effort. Below the pictures is the tutorial on how I did it. Hope you like the results! 



Top: MTWTFSS
Vest: Zara
Jeans: Cheap Monday
Sandals: Bronx
Bag: Vintage
Necklace: Ann Demeulemeester
Ring: Kalevala Koru
Ripped jeans - How to DIY with six easy steps
1. You will need: a pair of jeans, a marker or chalk, sandpaper and preferably a wooden plank.
2. Put your jeans on and mark the spots where you want the slashes to be made. You should at least mark the knee area because that will be hard to determine when the jeans are off your body. It's also good to keep in mind not to make the marks too high on the thigh area, unless you want your pockets to show through the slashes.
3. Take off the jeans and place them on the floor. If you have the wooden plank, place it inside the leg to provide support.
4. Fold the sandpaper in two and start sanding the jeans horizontally where you want the rips. When the jeans start to rip and a hole occurs, stop and rip the rest of the way with your hands. Be careful not to rip them all the way from seam to seam because the holes will enlarge in the wash. I made my cuts about 6-7 cm (= 2.5 inches) wide. (You can also sand the holes all the way through but that is rather time consuming. The reason why sandpaper is the best way to start the holes is for the frayed finish, scissors would result a much more cleaner cut which doesn't look as "authentic".)
5. After you are finished shake the lint off and wash your jeans. In order to get even more frayed look on the holes, you will need to wash the jeans in a washing machine. Using a dryer helps to bring out the frayness but it's not necessary.
6. Enjoy your ripped jeans!
Labels: DIY, outfits


